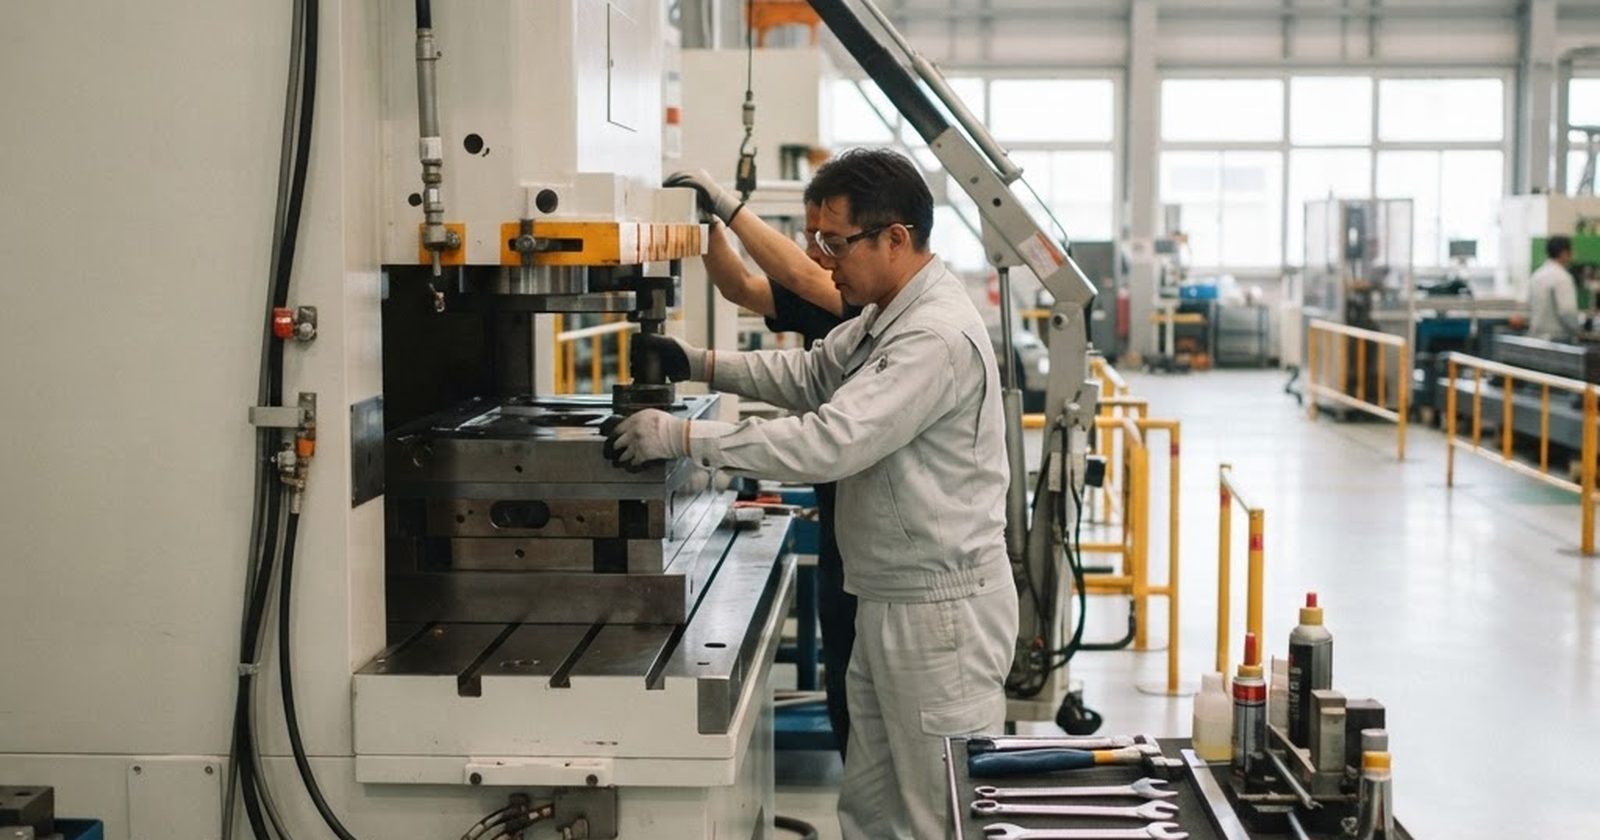
In one line: SMED (Single-Minute Exchange of Die) is a lean method for cutting equipment changeover time to under ten minutes by separating the setup work you can do while the machine is still running from the work that genuinely requires it to stop, then relentlessly shrinking what's left.
The Problem Long Changeovers Actually Cause
A 90-minute changeover doesn't just cost 90 minutes. It changes how a plant is run. When switching between products is expensive and slow, the rational response is to run large batches to spread that cost across more units — which is exactly the batch-and-queue thinking that production levelling exists to undo.
Long changeovers and small-batch, level production are directly opposed. You cannot economically make every product every day if switching between them eats a third of your shift. SMED is the enabling technique underneath almost every other lean flow improvement: without it, one-piece flow, mixed-model sequencing, and pull systems all stay theoretical.
Where the Method Came From
SMED was developed by Shigeo Shingo, an industrial engineer who spent decades consulting for Toyota and other Japanese manufacturers. He coined the term specifically to describe reducing changeover times to single-digit minutes — under ten — and developed a structured method for getting there, rather than leaving setup reduction to trial and error on the shop floor.
The most famous illustration of the concept, borrowed from motorsport, is the Formula 1 pit stop. A full tyre change, refuel in earlier eras, and vehicle inspection used to take a Formula 1 crew over a minute; modern crews now complete a four-tyre change in under three seconds. That result wasn't achieved by working faster at the same tasks. It came from redesigning which tasks happen before the car stops, which happen during, and eliminating everything that doesn't need to happen at all. SMED applies the identical logic to a die change, a mould swap, or a product changeover on a packing line.
The Core Distinction: Internal vs External Setup
Every changeover is made of two categories of work, and separating them correctly is most of the improvement.
Internal setup is work that can only happen while the machine is stopped — removing the old tool, fitting the new one, anything that physically requires the equipment to be down.
External setup is everything else — fetching the next tool from the store, checking it against the job spec, pre-heating it, staging fasteners and gauges on a cart, briefing the operator on the next job. None of that requires the machine to stop, yet in most unimproved changeovers it happens after the stop anyway, simply because nobody separated it out.
Shingo's own case studies found that converting internal setup activities to external ones was consistently the single biggest lever in any changeover improvement — frequently cutting total changeover time in half before a single tool was redesigned or a single bolt eliminated.
The Four Stages of a SMED Improvement
Shingo structured the method into four progressive stages, and skipping ahead to stage three before finishing stage one is the most common way teams under-deliver on a SMED project.
Stage 0: Observe and record the current changeover exactly as it happens. Film it if you can. Most teams are surprised by how much of the recorded time is walking, searching for a tool, or waiting for someone else — not the mechanical work itself.
Stage 1: Separate internal from external setup. Go through the recorded steps and tag each one. Anything external gets moved to before or after the stop, with no redesign required — this alone typically yields the largest single improvement in the whole project.
Stage 2: Convert internal setup to external wherever possible. Some steps that currently require the machine to be stopped can be redesigned so they don't. Pre-heating a mould in a separate oven before it goes on the press, pre-setting a tool to the correct dimension on a jig before it's fitted, or standardising fastener sizes so the next job's tool is already prepped — all of these move work out of the stopped-machine window.
Stage 3: Streamline every remaining internal and external element. Replace bolts with cam-locks or quarter-turn fasteners. Eliminate adjustment steps by designing in fixed locating points. Use standardised heights so shims and spacers are never needed. This is where the changeover crosses from "faster" to genuinely "single-minute."
Why Most Teams Get Stuck at Stage 1
Stage 1 feels like the whole project because it produces a visible win fast: reshuffle the sequence, do the prep in advance, and changeover time drops noticeably in week one. That early win is real, but it also tempts teams to declare success and move on before touching stage 2 or 3.
The teams that get to true single-digit-minute changeovers are the ones that keep asking, for every remaining internal step, "does this actually have to happen while the machine is stopped, or have we just always done it that way?" Most legacy setup procedures were never designed with speed in mind — they accumulated. Fastener types, adjustment steps, and inspection points get added one at a time over years and nobody ever goes back to remove the ones that no longer earn their place.
Getting Started Without a Full Project Team
A useful first pass doesn't need a six-week kaizen event. Pick one changeover that happens often and hurts the most, time it honestly from last-good-part to next-good-part, and list every single step in the order it actually happens — including the ones that feel too trivial to write down. Tag each step internal or external. Move every external step to before or after the stop. Time the new sequence.
That first pass alone routinely takes 20–30 percent off a changeover with zero capital spend. The bigger gains — getting from a 40-minute changeover to a genuinely single-digit one — come from stages 2 and 3, and those are worth planning properly with the people who run the equipment every day, since they already know which steps are pointless and which ones nobody has ever questioned.