What is a Process Map Template?
A process map is a visual diagram that shows every step in a process in sequence — including activities, decisions, handoffs and the people or systems involved at each point. It makes the process visible so everyone can see exactly what is happening, where things go wrong and where improvement opportunities exist.
Unlike a SIPOC, which shows five to seven high-level steps, a process map captures every sub-step, decision point and loop. It is the baseline documentation of how the process actually works — not how it is supposed to work.
Process mapping is a core tool in the Measure phase and is typically done by walking the process and observing what actually happens, not by reviewing existing documentation.
When to use a Process Map Template
Create a process map when you need to understand a process in enough detail to identify specific failure points, handoffs or waste. Use it when:
- You are entering the Measure phase and need to document the current state before data collection
- The process involves multiple people or systems and the full picture is not visible to any one person
- You want to identify where defects, delays or errors are introduced
- You need to design a future state process after improvement
Who should use a Process Map Template
- Green Belts and Black Belts — as a Measure phase deliverable to document current state before analysis
- Process Owners and Operations Managers — to document and standardise how a process runs
- Quality Teams — to identify where in a process defects are introduced or escape detection
- CI Facilitators — to run process mapping workshops with operational teams
Watch: a quick explainer
New to this? This short video walks you through mapping a process so you fix the right problem, not the symptom — a helpful primer before you download and use the template.

How to build a process map
Walk the process before you draw it. Talk to the people who do the work. What you observe will almost always differ from the documented procedure — and the differences are where your improvement opportunities live.
How to build a process map — step by step
-
1Define the process boundaries
Agree where the process starts and ends before you begin mapping. The start point is when the first input arrives. The end point is when the final output is delivered to the customer.
-
2Identify the process steps by observation
Walk the process from start to end. Record each step as you see it happening — including workarounds, informal steps and rework loops that do not appear in any procedure document.
-
3Identify the decision points
Wherever the process branches — 'If approved, go to X; if rejected, go to Y' — draw a decision diamond. These are often where delays, errors and inconsistency occur.
-
4Add swimlanes for each role or system
Draw horizontal or vertical lanes for each person, team or system involved. This makes handoffs visible — the point where work crosses a lane boundary is where most delays and errors occur.
-
5Note the time and volume at each step
For each step, record the typical time taken and the volume of items processed. This is your baseline data and feeds the Value Stream Map if needed.
-
6Mark non-value-adding steps
Highlight steps that do not add value in the customer's eyes — approvals, rework, data re-entry, waiting. These are your priority targets for improvement.
-
7Validate the map with the people who do the work
Show the completed map to the operators and supervisors. Ask: 'Is this how it actually works?' Gaps and corrections will emerge. The map is not finished until the team confirms it is accurate.
Worked example — Invoice Approval Process Map
A completed process map for an invoice approval workflow, showing swimlanes for three roles, decision points and highlighted non-value-adding wait steps.
Common mistakes — and how to avoid them
Mapping from documentation, not observation. The documented process and the actual process are almost never the same. Always observe the real process before drawing the map.
Skipping the swimlanes. A process map without swimlanes hides handoffs. The moment work crosses from one lane to another is where delays, misunderstandings and dropped items most commonly occur.
Making it too detailed too soon. Start at a medium level of detail — five to fifteen steps. If a step needs more detail, create a sub-process map for that step. Trying to capture everything in one diagram produces an unreadable chart.
Never reviewing it with the team. A process map drawn from interviews alone will have errors. The team who does the work must validate it before it is used for analysis.
Tips for getting better results
Use sticky notes first. Map on a whiteboard with sticky notes before transferring to software. It is faster, easier to rearrange and more collaborative in a workshop setting.
Use colour to highlight waste. Colour-code steps by type: value-adding (green), non-value-adding but necessary (amber), pure waste (red). This makes the improvement priority immediately visible.
Compare with the ideal state. Once you have the current state map, draw an ideal state map — the simplest possible flow with all waste removed. The gap between the two defines your improvement scope.
Download the Process Map Template
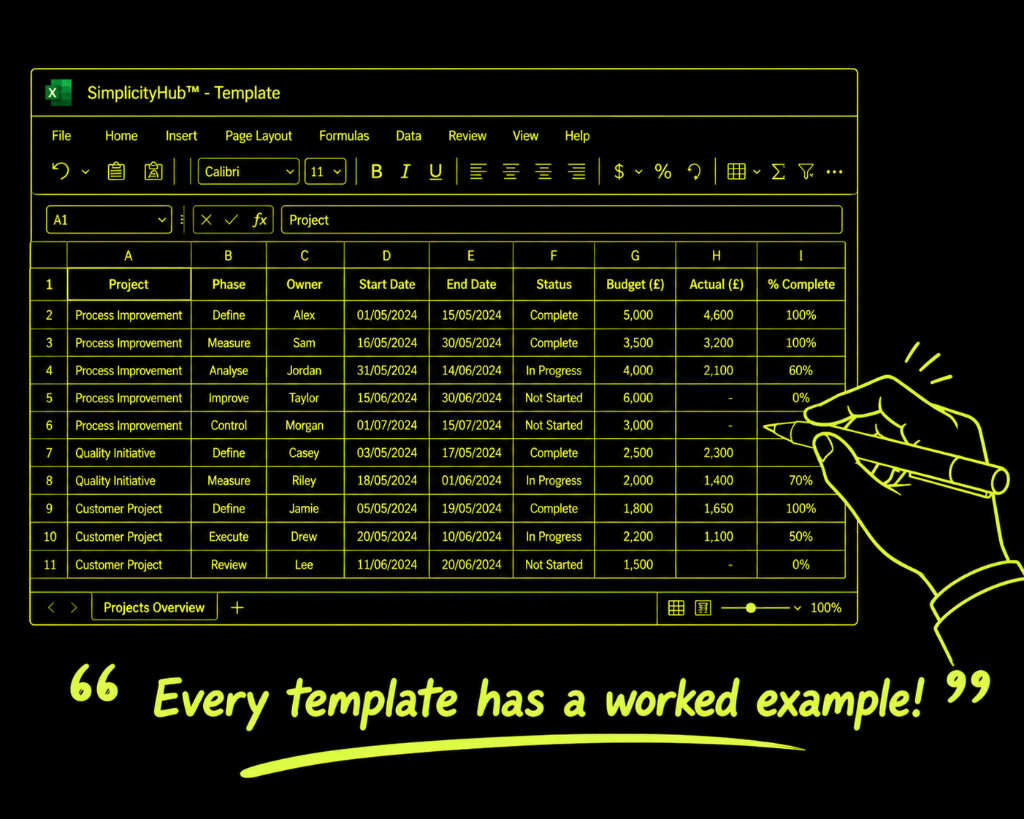
A clean, editable Excel template for immediate use — structured, professional and ready to fill in.
Frequently asked questions
How detailed should a process map be?
Match detail to purpose. High-level for scoping (5-10 steps). Detailed for analysis (20-40 steps with decisions).
Should I map how it should or actually works?
Always map how it actually works first. The gap between current and ideal reveals your opportunities.
Who should be involved?
The people who actually do the work. A map created only by management rarely reflects reality.
What symbols should I use?
Rectangles for steps, diamonds for decisions, arrows for flow, swim lanes for who does each step.
Advanced Toolkit Packs — available now
Structured, ready-to-use template packs designed for real improvement work. Pick the pack that matches your project and get started straight away.
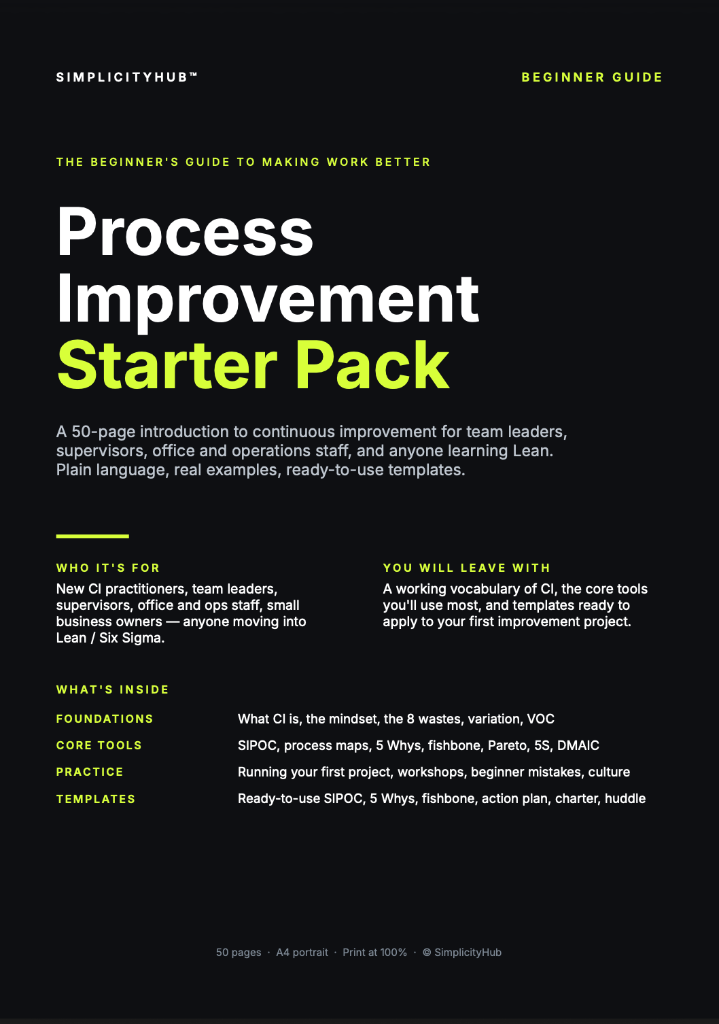
Process Improvement Starter Pack
A starter pack for identifying improvement opportunities, measuring baselines and planning action.
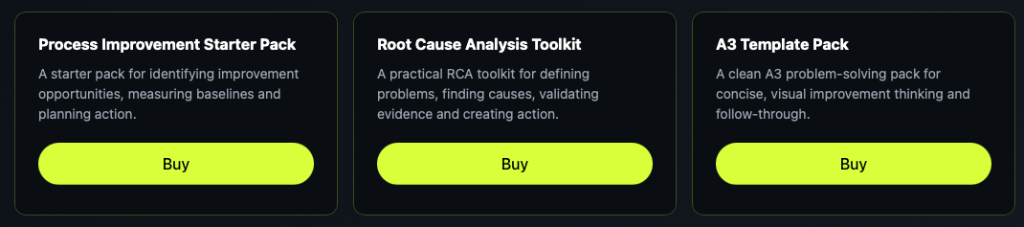
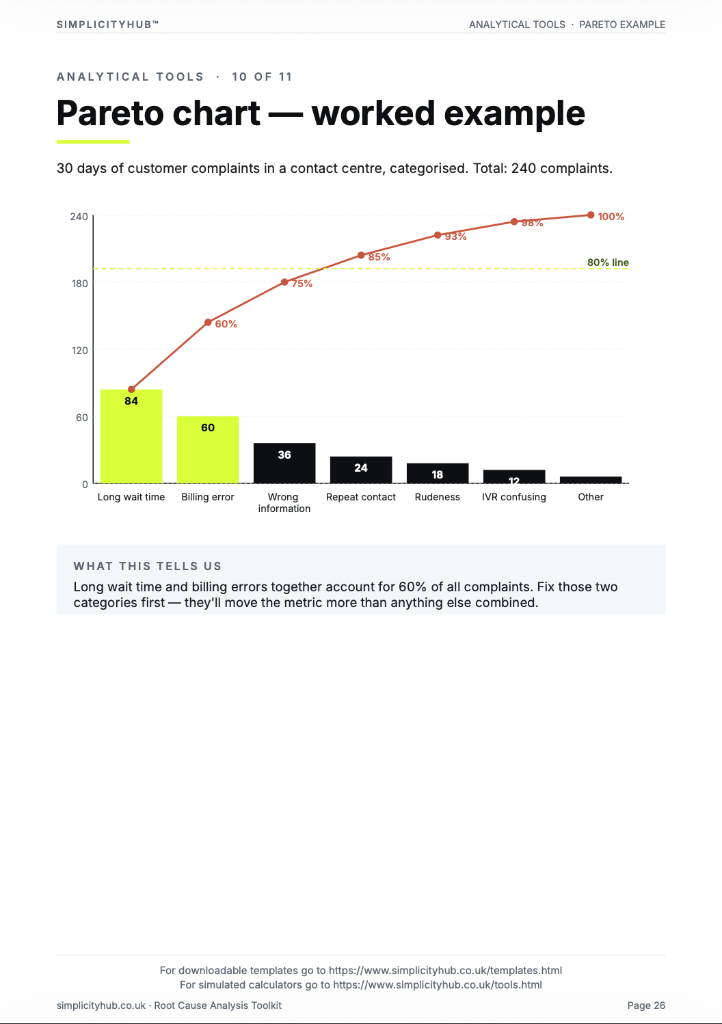
Root Cause Analysis Toolkit
A practical RCA toolkit for defining problems, finding causes, validating evidence and creating action.
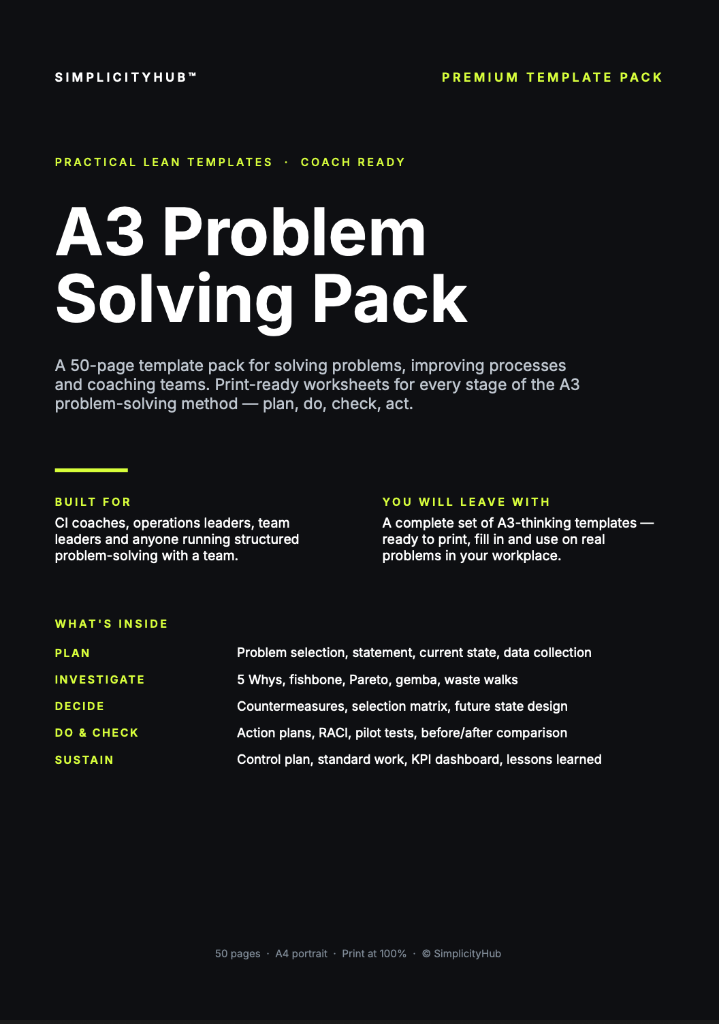
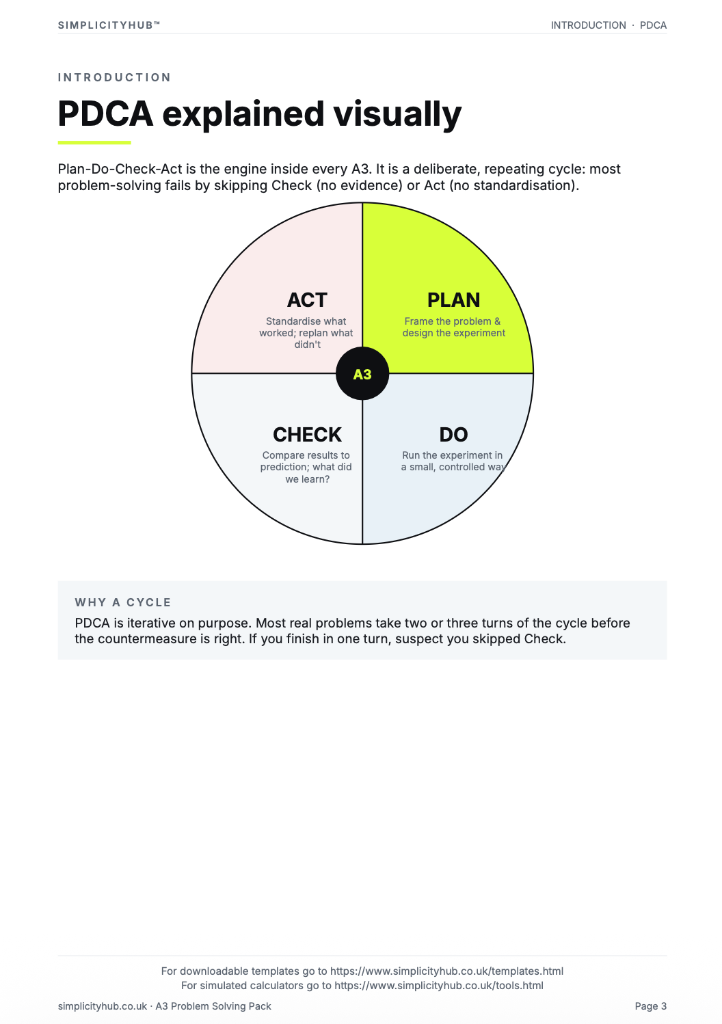
A3 Template Pack
A clean A3 problem-solving pack for concise, visual improvement thinking and follow-through.