What is a Before and After Comparison Template?
A Before and After Comparison Template provides a structured side-by-side view of process performance before and after an improvement has been implemented. It captures key metrics, visual evidence and qualitative observations to demonstrate the impact of the change.
When to use a Before and After Comparison Template
Use it in the Control phase after implementing your improvement, to document and present the results. It is also valuable at project closure and post-implementation reviews to confirm the change is sustaining.
Who should use a Before and After Comparison Template
- Green Belts and Black Belts — presenting measurable improvement results to sponsors and stakeholders
- Process owners — documenting the change in process performance for handover and audit purposes
- Sponsors and steering groups — reviewing evidence that the project has delivered its intended benefits
- Continuous improvement teams — building a library of proven improvements as a reference for future projects
Vote yes and we’ll prioritise a quick walkthrough showing you exactly how to use it.
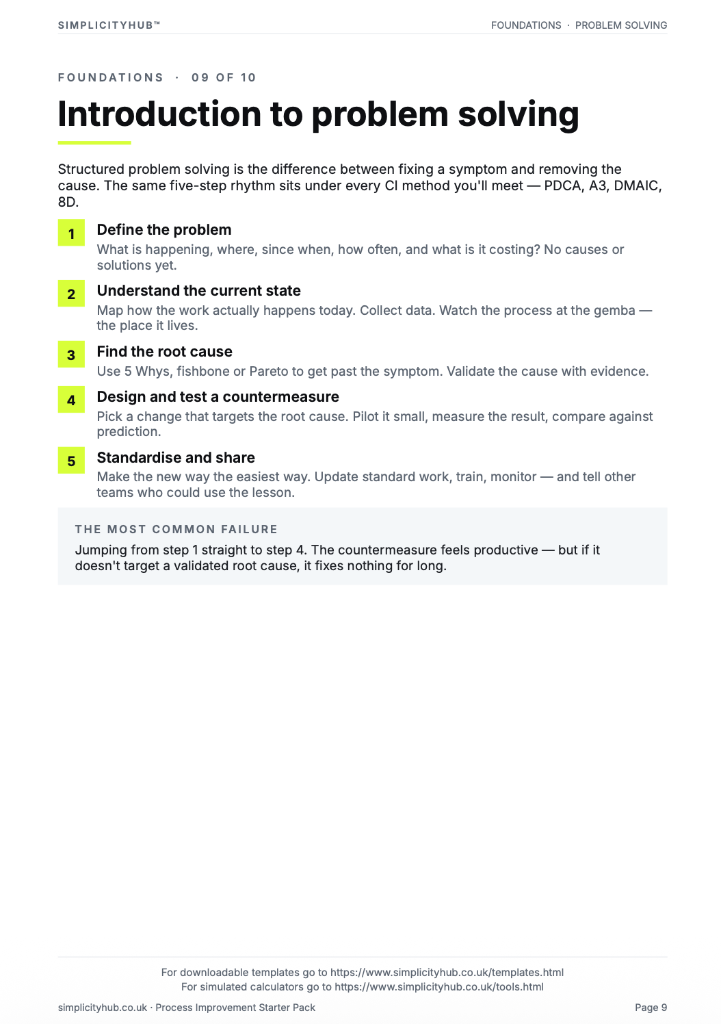
How to use a Before and After Comparison — step by step
- 1Record the baseline (before) state
Capture the pre-improvement performance for every key metric. Include the measurement date and data source.
- 2Implement the improvement
Apply the selected solution and allow sufficient time for the process to stabilise before measuring.
- 3Measure the after state
Collect post-improvement data using the same measurement approach as the baseline for valid comparison.
- 4Calculate the improvement delta
For each metric, calculate the absolute and percentage change from before to after.
- 5Capture visual evidence
Include before and after photographs, screenshots or process maps to make the improvement tangible.
- 6Add qualitative observations
Record staff and customer feedback on the change — not just numbers.
- 7Present to the sponsor
Walk the sponsor through the before/after comparison at project closure or the nearest review.
Worked example — Warehouse Pick Accuracy
A warehouse team documented pick accuracy improving from 94.2% to 99.1% after implementing a barcode scanning solution — with before/after photos of the pick station and a customer complaint reduction from 23 to 2 per month.
Common mistakes — and how to avoid them
Measuring too soon after implementation. Allow the process to stabilise for at least 2–4 weeks before collecting 'after' data. Early measurements may reflect novelty effects, not real improvement.
Using different measurement methods before and after. If the measurement approach changes, you cannot make a valid comparison. Standardise how you measure before the project begins.
Only showing financial metrics. Financial impact matters, but quality, speed and customer satisfaction changes are equally compelling. Show the full picture.
Not capturing a visual 'after'. A photograph or updated process map is worth more than a paragraph of text when presenting to a non-technical audience.
Tips for getting better results
Use a simple two-column layout. Side-by-side presentation makes the comparison immediately obvious. Avoid narrative descriptions that bury the headline numbers.
Include control chart data. Before/after run charts show that the improvement is real and sustained, not just a one-off data point.
Quantify the benefit in financial terms. Convert metric improvements into £ or % where possible — it makes the business case for the next project much stronger.
Frequently asked questions
How long after implementation should I measure?
Allow four to eight weeks for the process to stabilise before capturing after data.
What if the after performance is worse?
Document it honestly. Investigate whether the solution was implemented correctly or the root cause analysis was incomplete.
Should I use the same measurement method?
Yes, always. Changing the measurement method makes the comparison meaningless.
Who should see it?
The sponsor, process owner, and team at minimum.
Advanced Toolkit Packs — available now
Structured, ready-to-use template packs designed for real improvement work. Pick the pack that matches your project and get started straight away.
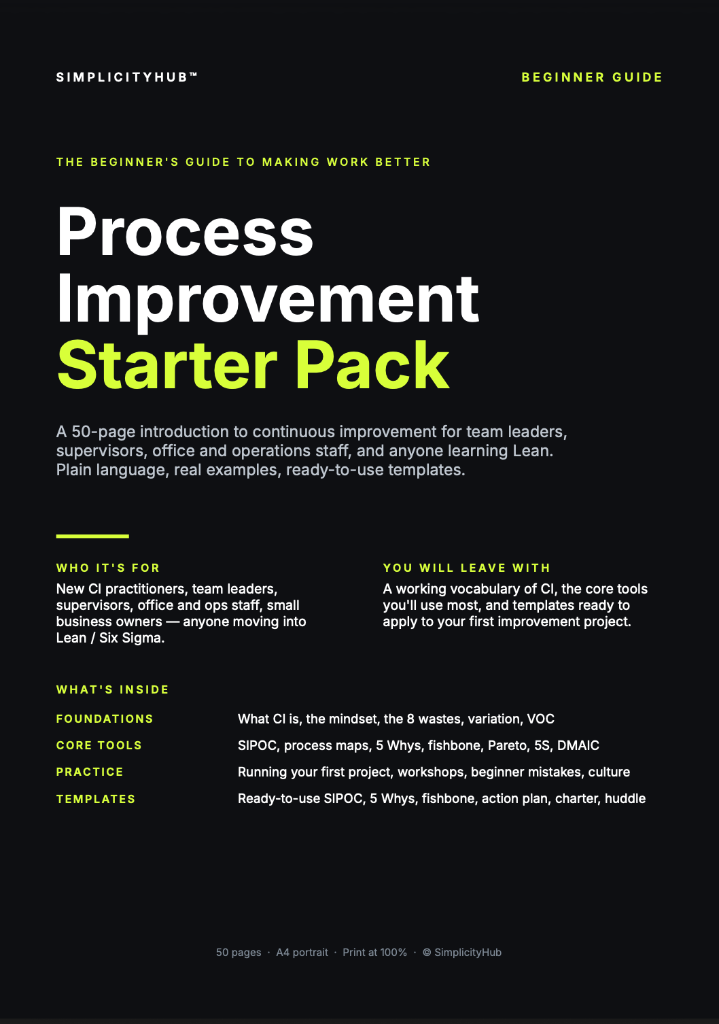
Process Improvement Starter Pack
A starter pack for identifying improvement opportunities, measuring baselines and planning action.
Root Cause Analysis Toolkit
A practical RCA toolkit for defining problems, finding causes, validating evidence and creating action.
A3 Template Pack
A clean A3 problem-solving pack for concise, visual improvement thinking and follow-through.