What is a Sampling Plan Template?
A sampling plan defines how many items or observations need to be measured to draw statistically valid conclusions about a process — without measuring every single item. It calculates the required sample size based on the desired confidence level, acceptable margin of error and the variability of the process.
Sampling is used when measuring every item is impractical, impossible or too costly. A well-designed sample produces conclusions as reliable as a full census, at a fraction of the effort.
Sampling plans are built in the Measure phase before data collection begins, and are documented as part of the data collection plan.
When to use a Sampling Plan Template
Build a sampling plan whenever you cannot or should not measure every item in your population. Use it when:
- The population is too large to measure in full within the project timeframe
- Measurement is destructive or invasive and only a sample can be tested
- You want to justify the sample size to a sponsor or finance team
- You are designing a routine sampling protocol for ongoing quality monitoring
Who should use a Sampling Plan Template
- Green Belts and Black Belts — when designing the data collection approach in the Measure phase
- Quality Engineers and Analysts — when setting up routine quality sampling protocols
- Black Belts and MBBs — when designing statistically rigorous measurement studies
- CI Coaches — to help project teams understand why sample size matters
Watch: a quick explainer
New to this? This short video walks you through planning how you collect and sample data — a helpful primer before you download and use the template.

How to design a Sampling Plan
Before calculating sample size, be clear about what decision the sample will support. The required sample size depends on how confident you need to be and how much error you can tolerate — and both of those depend on what the data will be used for.
How to design a Sampling Plan — step by step
-
1Define the population
What is the full set of items you are drawing conclusions about? All orders in Q1, all complaints in a month, all widgets from a production line? Be precise — the population definition drives everything else.
-
2Choose confidence level and margin of error
Confidence level is how certain you want to be (typically 95%). Margin of error is how much inaccuracy you can tolerate (typically 5%). Higher confidence and lower error require larger samples.
-
3Calculate the required sample size
Use the standard formula: n = (Z² × p × (1-p)) / E² where Z is the z-score for your confidence level (1.96 for 95%), p is the estimated proportion (use 0.5 if unknown) and E is the margin of error.
-
4Choose the sampling method
Random: every item has an equal chance of selection. Systematic: every nth item (e.g. every 7th order). Stratified: proportional samples from each sub-group. Choose the method that best represents your population.
-
5Check for stratification requirements
If the population has distinct sub-groups (shifts, machines, days of week) that may behave differently, use stratified sampling to ensure each sub-group is represented.
-
6Document the sampling protocol
Write the step-by-step instructions for how the sample will be drawn: which system, which date range, which filter, how to select items. Anyone following the protocol should produce the same sample.
-
7Pilot the sampling approach
Draw a small test sample using the protocol. Check the data makes sense and the protocol is practical. Fix any issues before the full sample is drawn.
Worked example — Production Quality Check Sampling Plan
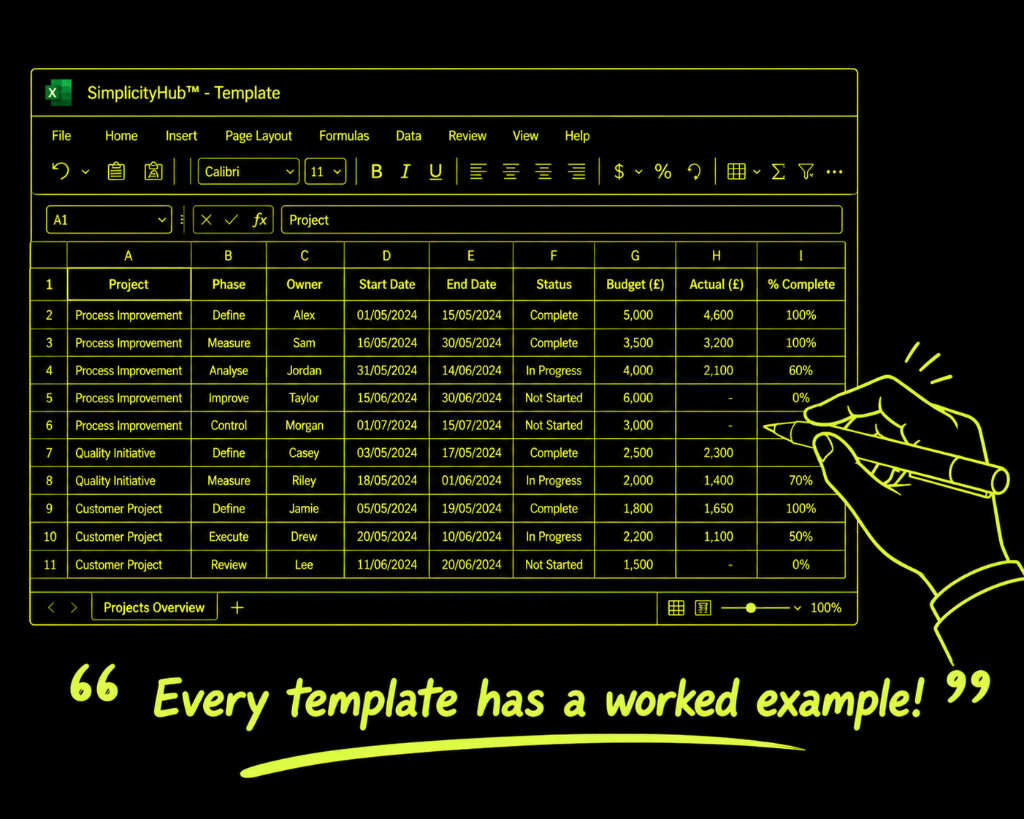
A completed sampling plan for a production line quality study, showing population definition, sample size calculation (n=331), sampling method and collection protocol.
Common mistakes — and how to avoid them
Using too small a sample. A sample of 20 from a population of 10,000 produces unreliable estimates. Calculate the required sample size before you start — do not just collect 'a few' and assume it is enough.
Convenience sampling. Measuring the easiest or most accessible items (e.g. only Monday morning batches) produces a biased sample. Random or systematic sampling ensures every item has a fair chance of selection.
Ignoring stratification. If your process behaves differently on different shifts, days or machines, a single unstratified sample will mask these differences. Stratify to ensure all sub-groups are represented.
Not documenting the protocol. A sampling protocol that only exists in the project lead's head cannot be replicated or validated. Document every step so the sample can be independently verified.
Tips for getting better results
Increase sample size if you expect high variability. The standard formula assumes moderate variability (p=0.5). If your process is highly variable, a larger sample is needed to achieve the same precision. When in doubt, sample more rather than less.
Use a sample size calculator. Online sample size calculators remove the need to calculate manually. Input your confidence level, margin of error and population size and they return the required n instantly.
Document your sample size calculation. Include the calculation in the data collection plan with all assumptions stated. This allows the sample size to be challenged and validated — which is increasingly important when savings claims depend on the data.
Download the Sampling Plan Template
A clean, editable Excel template for immediate use — structured, professional and ready to fill in.
Frequently asked questions
Why do I need a sampling plan?
Measuring 100% is usually impractical. A sampling plan ensures your sample is representative and conclusions can be generalised.
What sample size do I need?
30-50 is a practical starting point. Use a sample size formula for more precision.
Random vs systematic sampling?
Random selects with equal probability. Systematic selects every nth item. Both work.
What is stratified sampling?
Divides the population into subgroups and samples each separately. Use when performance differs significantly between groups.
Advanced Toolkit Packs — available now
Structured, ready-to-use template packs designed for real improvement work. Pick the pack that matches your project and get started straight away.
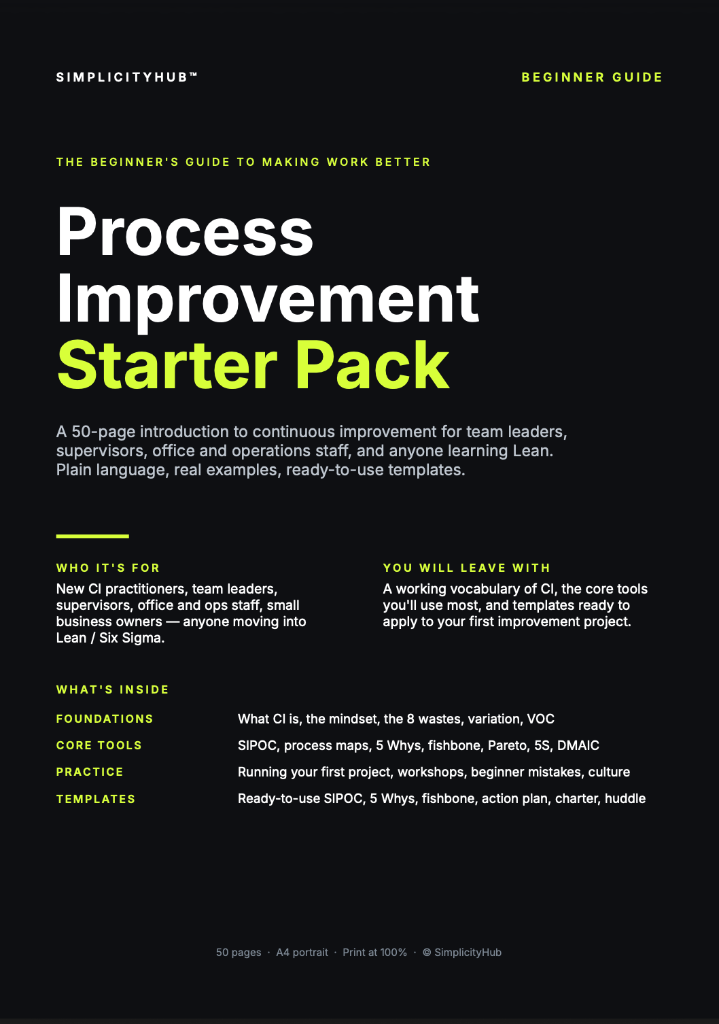
Process Improvement Starter Pack
A starter pack for identifying improvement opportunities, measuring baselines and planning action.
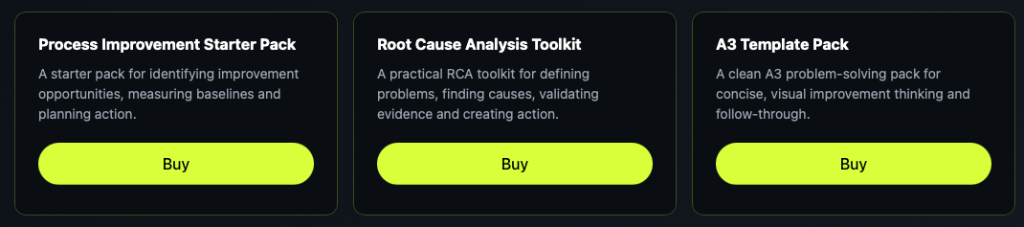
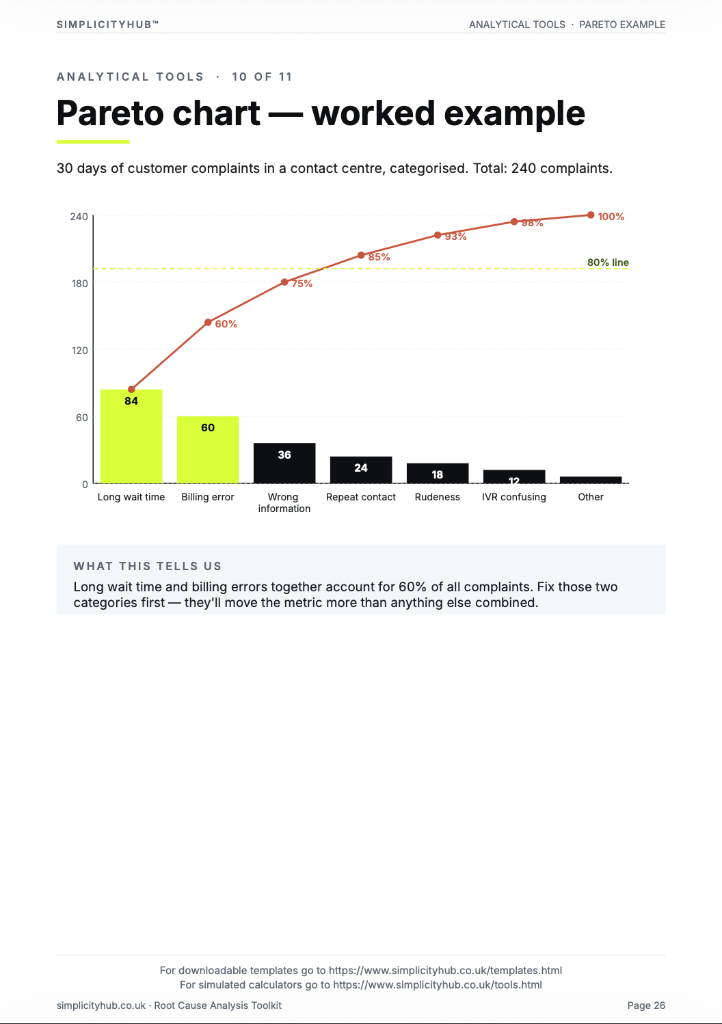
Root Cause Analysis Toolkit
A practical RCA toolkit for defining problems, finding causes, validating evidence and creating action.
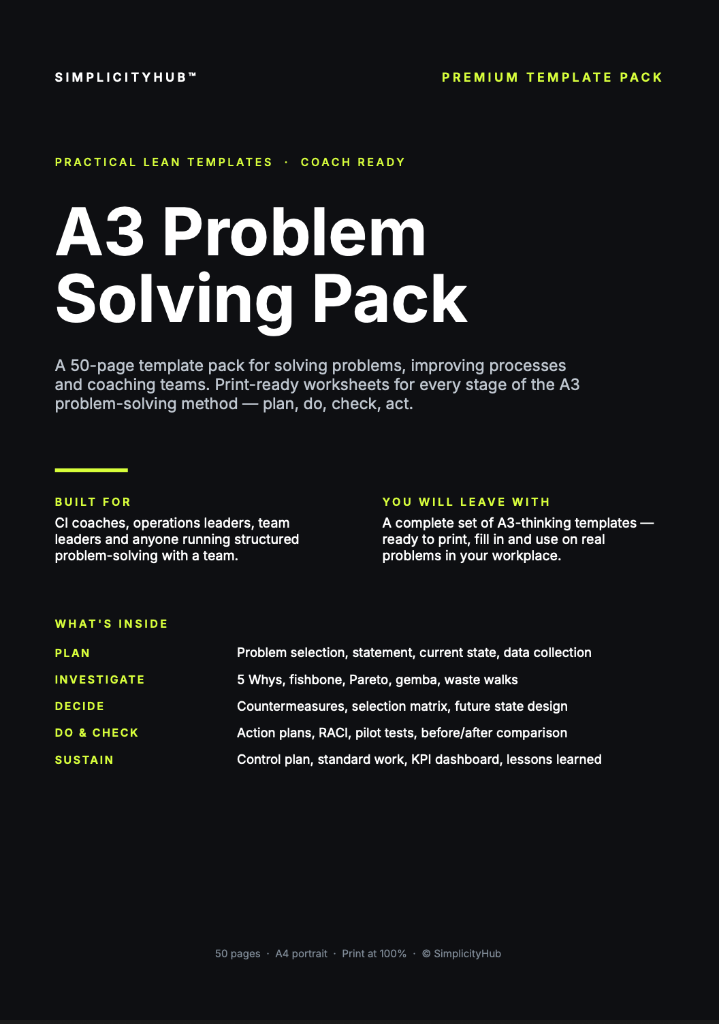
A3 Template Pack
A clean A3 problem-solving pack for concise, visual improvement thinking and follow-through.